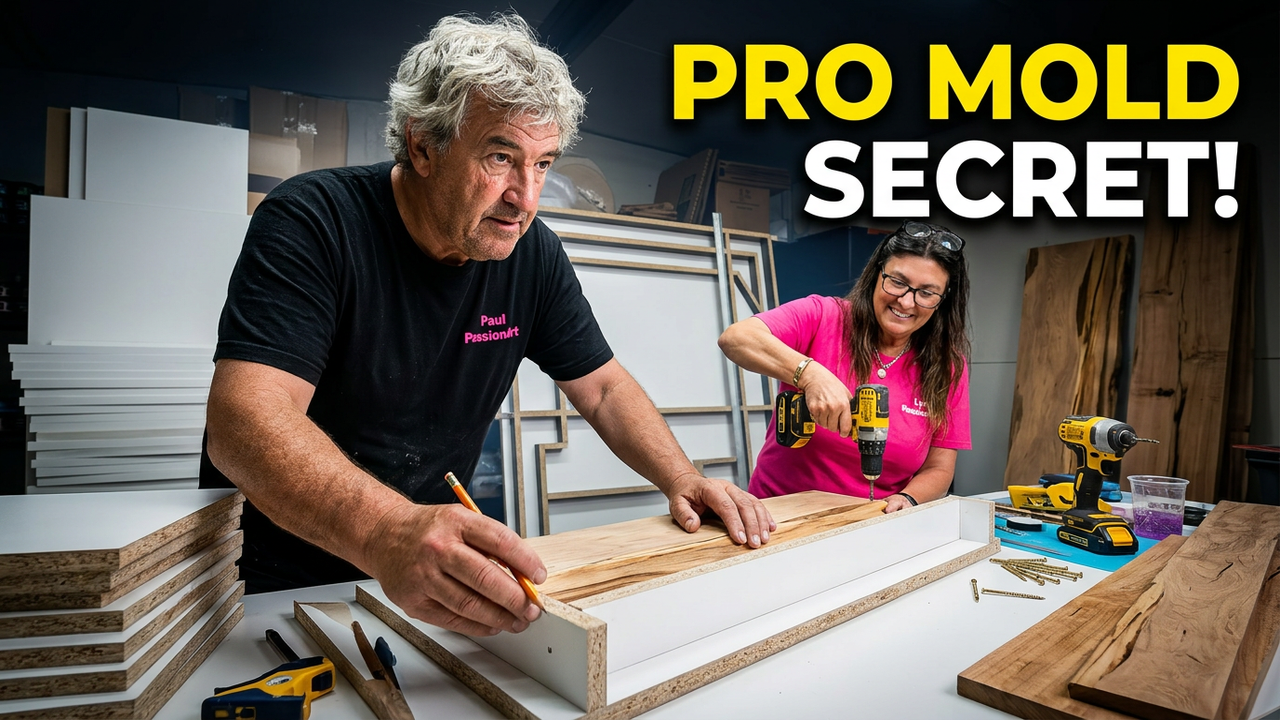
Build a River table Mould Like a Pro with Paul of Resin Wood Tables NZ and Lynn of Northland Resin Art is the home of CreatiVity. New Zealanders, in general, are pretty crafty people, so we know you will get through the process of building a river table mould with ease. Some may struggle, but never get discouraged, as we are all here to learn from each other. First up, let's look at what tools you will need to build a River table Mould Like a Pro. After that, you can dive into some of our other tutorials about wood selection, sealing your timber and pouring your first river table.
Tools, Materials, Build a River Table Mould Like a Pro
- Melamine board, MDF, or Formply for the construction. 16mm to 25mm thick
- You will need a skillsaw or a table saw
- Tape measure, ruler, pencil and a straightedge
- Drill with a bit slightly smaller than your screw thickness
- Screwdriver or impact driver, screws to go through the board into the base board
- Silicone gun and the cheapest silicone you can find
- Silicone spray, mould release wax or packaging tape if going over bare wood
Time for the construction of your First Mould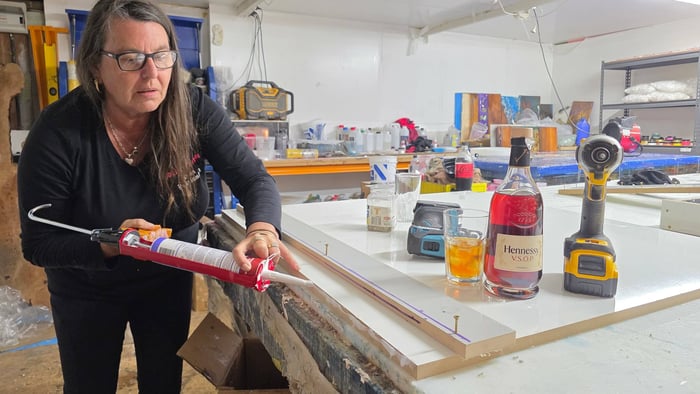
- Firstly, decide the size of the mould that you want to make, allowing a little bit extra in size for trimming back your table once it is ready to come out of the mould. Once you have this figured out, the next key factor to consider is the depth or thickness of your table, as this governs the size of your sides in your mould. If we wanted a finished size of 1200mm x 600mm x 70mm deep, we would cut our base board, which is the bottom of the mould, to around 1230mm x 630mm, leaving a safety margin of 30mm for trimming. If our base is 18mm thick, we will now cut our sides to allow 70mm for depth, 10mm for a safety margin above the tabletop and 18mm for the thickness of the mould base, so now our sides can be cut to a width of 98mm. Now that all our board pieces are cut to the right size, it is time to assemble our mould. Note: Ensure that you cut the end sides longer than the baseboard width, allowing enough length to surpass the total width with the outer sides on. Believe me, it really sucks when we cut the ends too short.😂
- Now use your thumb and forefinger to find the centre of the timber side, then hold in that position and draw a line down the outside of the board. This should be exactly the right height for you to put the screws into the sides that attach to the base.
- Once you have done that, you will want to estimate 4 equal intervals or more for bigger tables and drill pilot holes for the screws.
- Now run a line of silicone down the outside edge of the baseboard so the silicone is within the upper third, as this will squirt out along the entire length of the side panel.
- You are almost there now. Run your finger down the inside edge of the sideboard meeting the base. You may need to add more silicone to achieve a great seal in a quarter-round.
- Repeat this process to the other side, then the ends, and you will have now successfully crafted a mould for your project.
Fast Set Epoxy Sealer 1.5kg Kit - Northland Resin 2:1

$80.00
Northland Resin, 2:1 Fast Set Epoxy Sealer 1.5kg Kit - Northland Resin is mixed two-to-one by weight, with a cure time of four to six hours. It is touch dry and fully cured after approximately 12 hours, depending… read more.
We are here to Help You.
If you have questions you want answered, you are welcome to call Paul anytime from 7 am - 11 pm, seven days a week, to help you out via text, phone calls, or video link. Paul helps many people achieve their goals, as this is a passion for both Paul and me.
Paul and Lynn from Resinzwood, PassionArt, and Resin Art Supplies created this tutorial.
Make sure you subscribe to our website for notifications about upcoming blog posts and products. You will also get Creative Family member discounts.
In the video below, we recommend making another tutorial on how to do this like a pro soon. We will also talk about the types of resin that are best and the other types of resin that we recommend you use, with additives such as Acetone, Isopropyl, or Blue Methanol spirits, to create a thinner mix for deeper penetration.